實作暑期Linux 核心課程的作業遇到太多WSL的問題,找台舊主機裝原生 ubuntu-20.04 壓壓驚,順便把過程中碰到的問題與解法記錄下來
安裝完成重新開機後沒有進登入畫面而是停在 grub
- 列出所有裝置
- 找出開機磁區
1
2
3
4
5
| ls (hd0)/
ls (hd0,xxx)/
ls (hd1)/
ls (hd1,xxx)/
|
- 設定參數並開機
1
2
3
| set root=(hd0,xxx)
set prefix=(hd0,xxx)/boot/grub
normal
|
整合 vscode Remote-SSH
照以往經驗,Ubuntu 可以驅動 Intel 內顯,不用額外設定。這次 Ubuntu 20.04 只抓到 1024x768 的解析度,色彩設定慘到不忍直視,調了半小時還是無法解決。於是想到在遠端用 vscode 開發
- 在 Ubuntu 安裝 openssh-server
1
| apt-get install openssh-server
|
- 在 Windows10 產生 ssh key
- 在 Windows10 的 vscode 安裝 Remote-SSH 擴充功能
- 安裝擴充功能後,按下
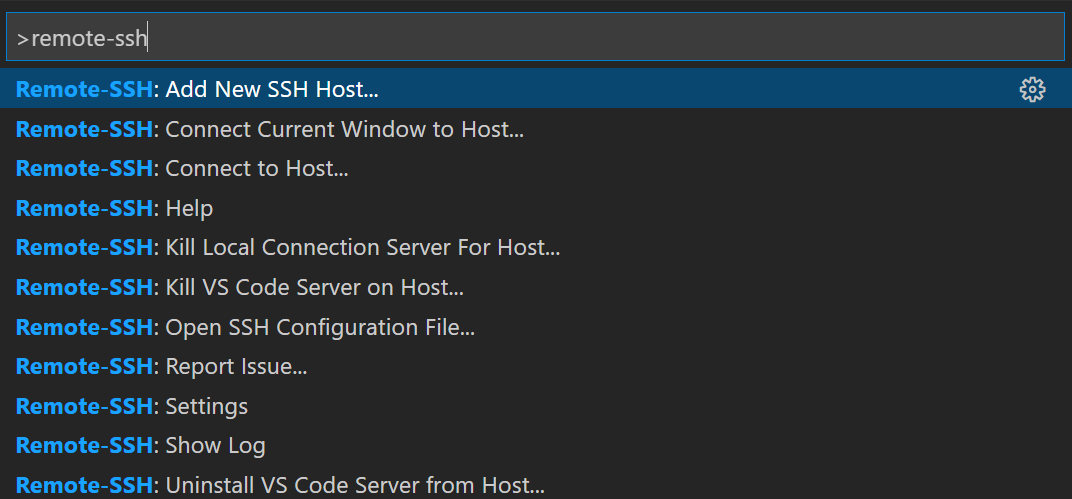
F1 或 Ctrl+Shift+P 開啟命令選擇區並輸入 remote-ssh
- 擴充功能接著會提示輸入要連線的目標,輸入完成後即可連線
- 設定 Ubuntu 的 authorized_keys
1
2
| mkdir -p ~/.ssh
touch ~/.ssh/authorized_keys
|
~/.ssh/authorized_keys 檔案中
參考連結
- GRUB starts in command line after reboot
- Remote development over SSH
- How to add ssh keys to an ubuntu server