在 Windows10 使用 WSL + GCC
雖然安裝過程肯定可以從 Google 找到,但為了避免遇到新系統臨時失憶,還是做筆記比較好
安裝過程
安裝 WSL
參考 Windows Subsystem for Linux Installation Guide for Windows 10 官方文件安裝
- 啟用 WSL
1
dism.exe /online /enable-feature /featurename:Microsoft-Windows-Subsystem-Linux /all /norestart
- 更新至 WSL 2
- x64 架構,必須是 Windows10, version 1903 或更新版本,建置編號為 18362 或更新編號
- arm64 架構,必須是 Windows10, version 2004 或更新版本,建置編號為 19041 或更新編號
簡單的說,給我更新到最新版
- 啟用虛擬機器功能
1
dism.exe /online /enable-feature /featurename:VirtualMachinePlatform /all /norestart
- 安裝 Linux kernel 更新套件
- 將 WSL 2 設為預設版本
1
wsl --set-default-version 2
- 安裝 Linux
這邊就是看個人喜好了,我習慣使用 Ubuntu 上一個 LTS 版本
因為常被最新的 LTS 雷,所以這邊選用 Ubuntu 18.04 LTS
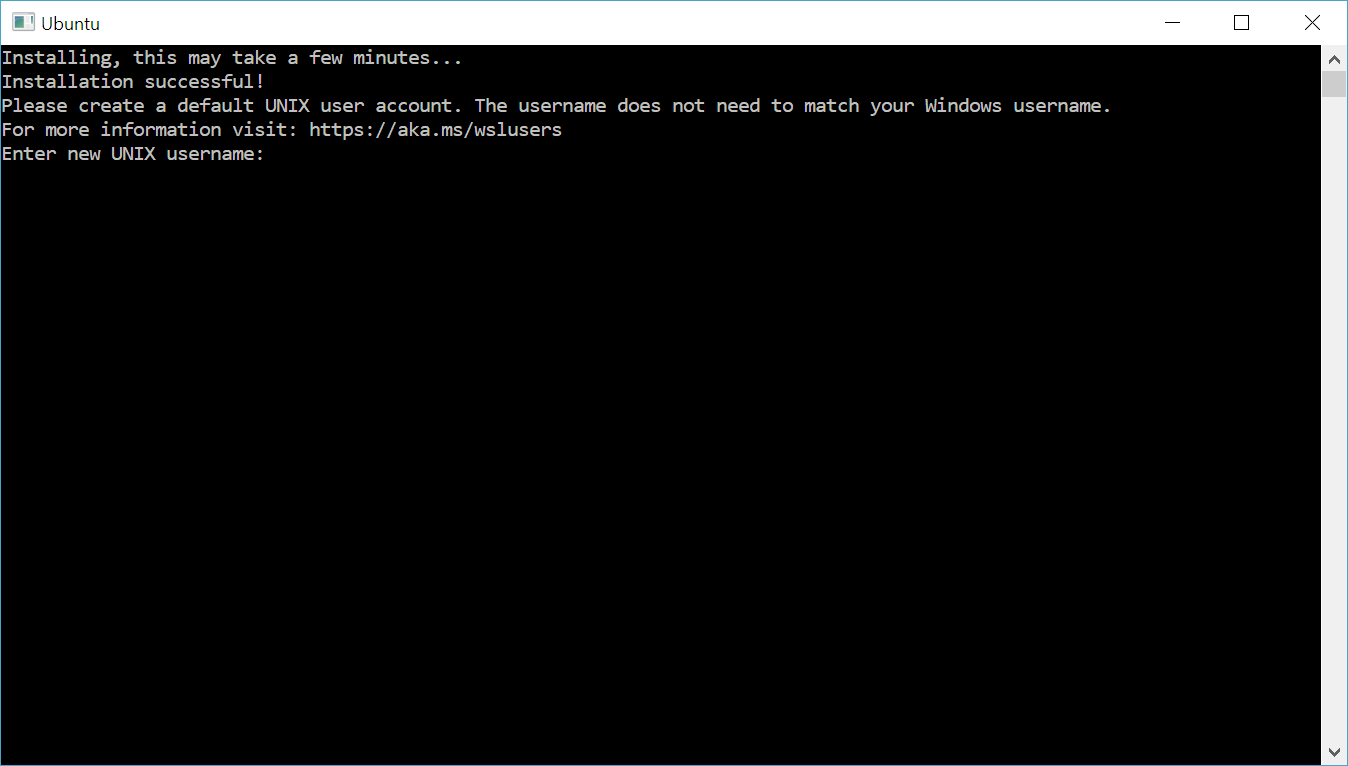
安裝完後直接啟用,會直接跳出視窗讓你設定 username 及 password
安裝 Windows Terminal (optional)
直接到 Microsoft Store 下載安裝
詳細 Config 文件直接看官方文件
安裝 GCC
- 啟動 WSL
1
bash
- 安裝編譯環境
1
2
sudo apt-get update
sudo apt-get install build-essential gcc g++ gdb - 測試
1
2
whereis g++
whereis gdb